Diane's CPAP sits on a nightstand by the bed and Evita decided it was a great place to sit or stand on. This is a problem since she can push buttons and turn it on and off at 3AM. Diane decided she would make a CPAP cover.
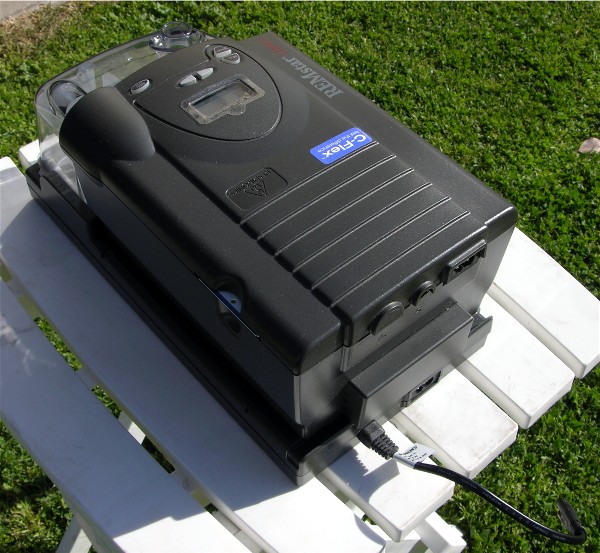
Here are pictures of her CPAP, notice the buttons on top.
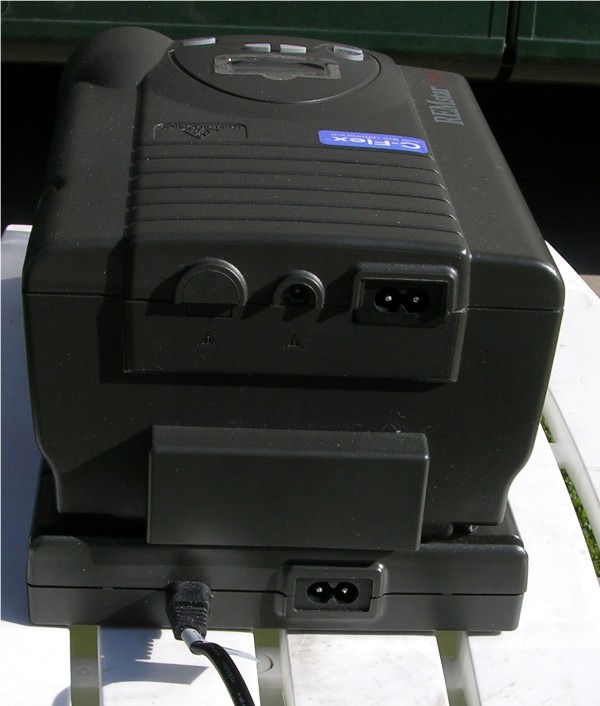
The CPAP is two parts, the heated humidifier base attaches to the bottom and has its own power plug with a pigtail to attach to the main unit. The main unit also has a 12volt cord location, but we don't have the 12volt cord. Here is the back where the power connects:
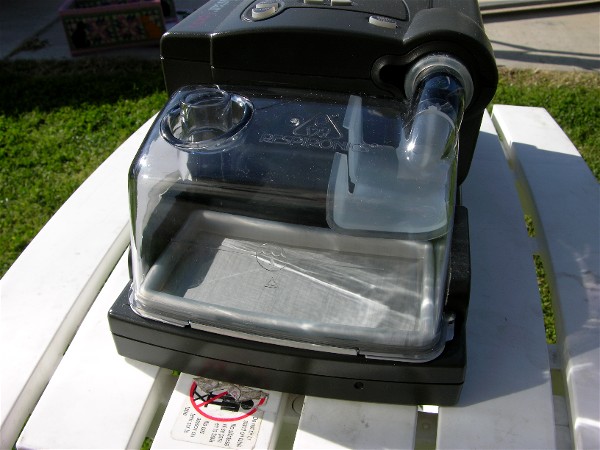
Here is the humidifier reservoir which needs to be removed to fill it with water:
Here is a side view of the CPAP:

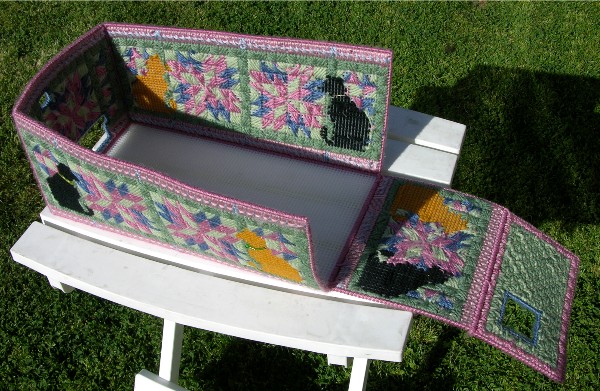
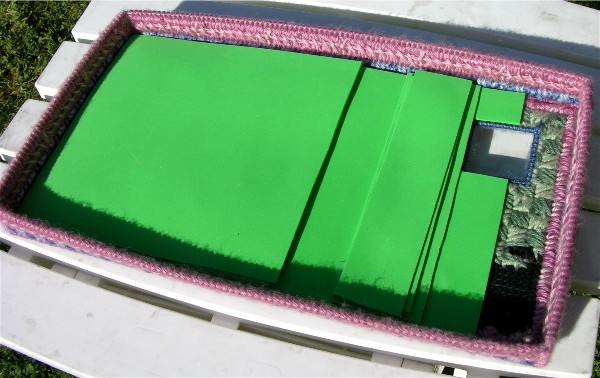
The CPAP cover empty:
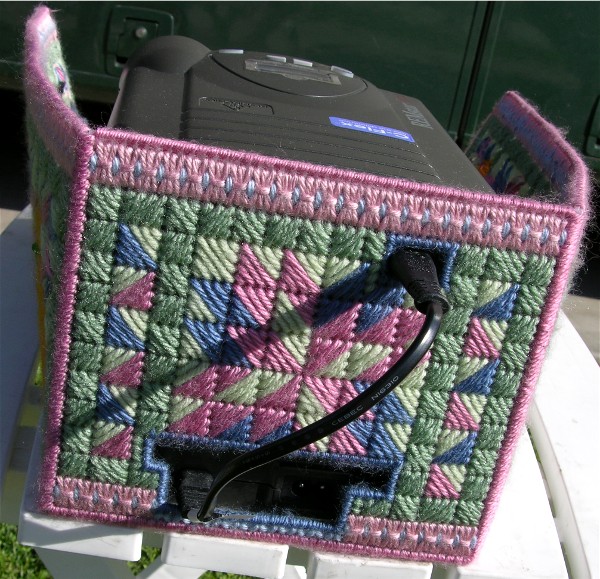
The back with the holes for the power cords (if we ever need the 12volt cord Diane will have to make a new cover):
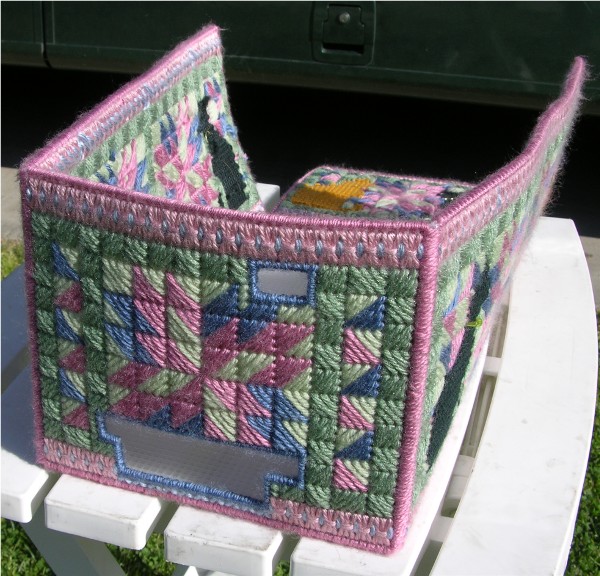
This view shows how much light and air can come through the cover, the CPAP needs to breath so the yarn is open:
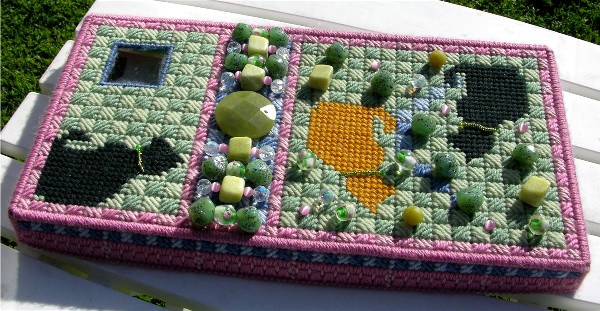
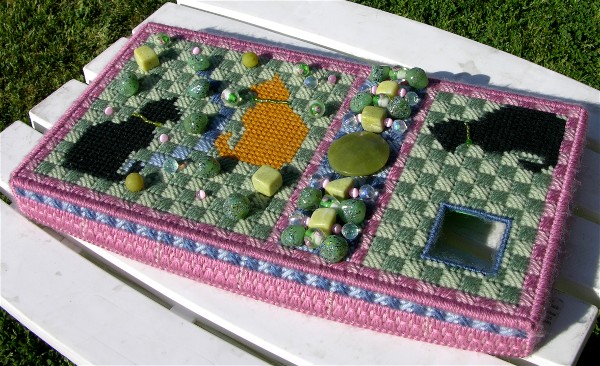
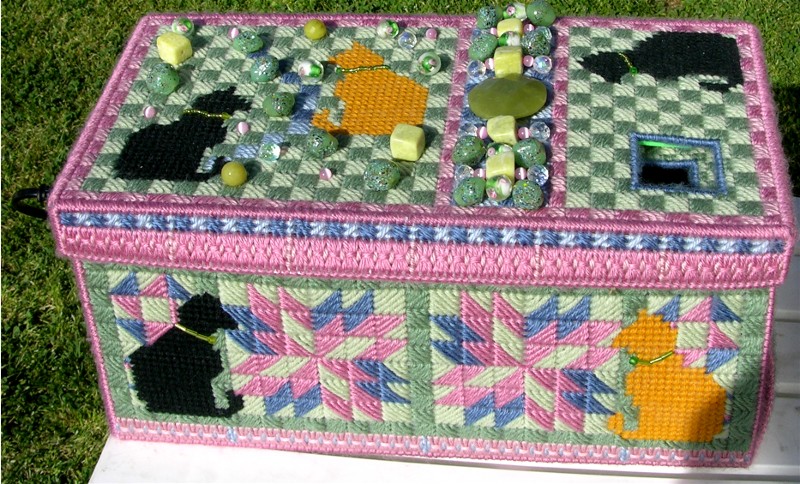
The lid with all the beads located to make it uncomfortable for Evita to sit on:
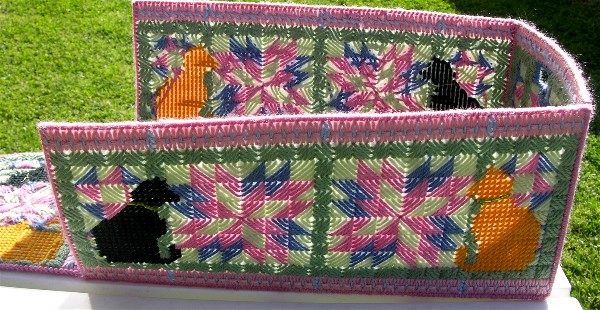
Diane felt having cats on the cover was very appropriate since she made it because of a cat:
The inside of the lid is well padded with foam so the buttons will not be pressed by the weight of a cat:
Here is how the CPAP fits into the cover, it is open on the front so the reservoir can be removed:
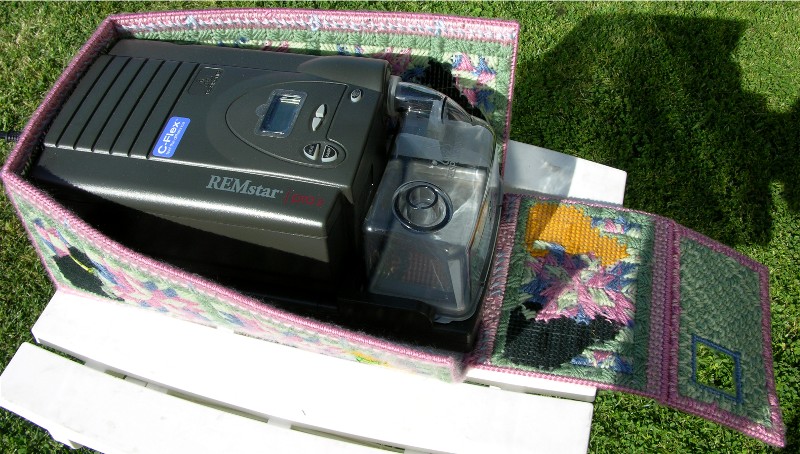
The pigtail power connector from the heated humidifier base to the CPAP unit:
The flap over the reservoir with a hole for the hose:
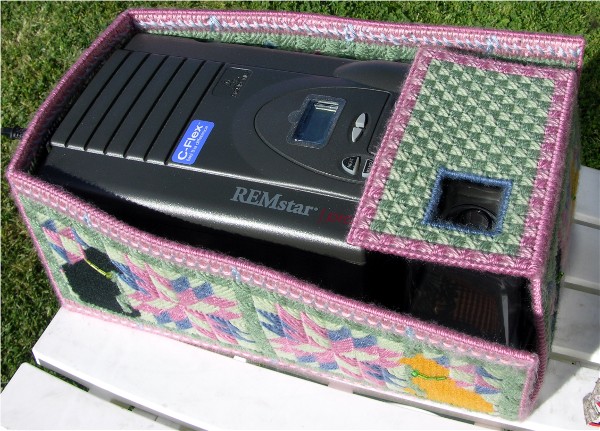
Everything put together:
There is a small green light on the front of the unit that can be seen through the yarn to say the heater is on. Another reason to use a loose weave.
The cover has stopped Evita from pushing the buttons, it has not stopped her from sometimes sitting or standing on the top.